aml1014
Masterpiece
I recently set up an airlayer on mine as well. The top is still growing strong and I've had good success with cuttings so I'm pretty confident. Good luck on yours.
Aaron
Aaron
Thanks for the article recommendation.Good choice!
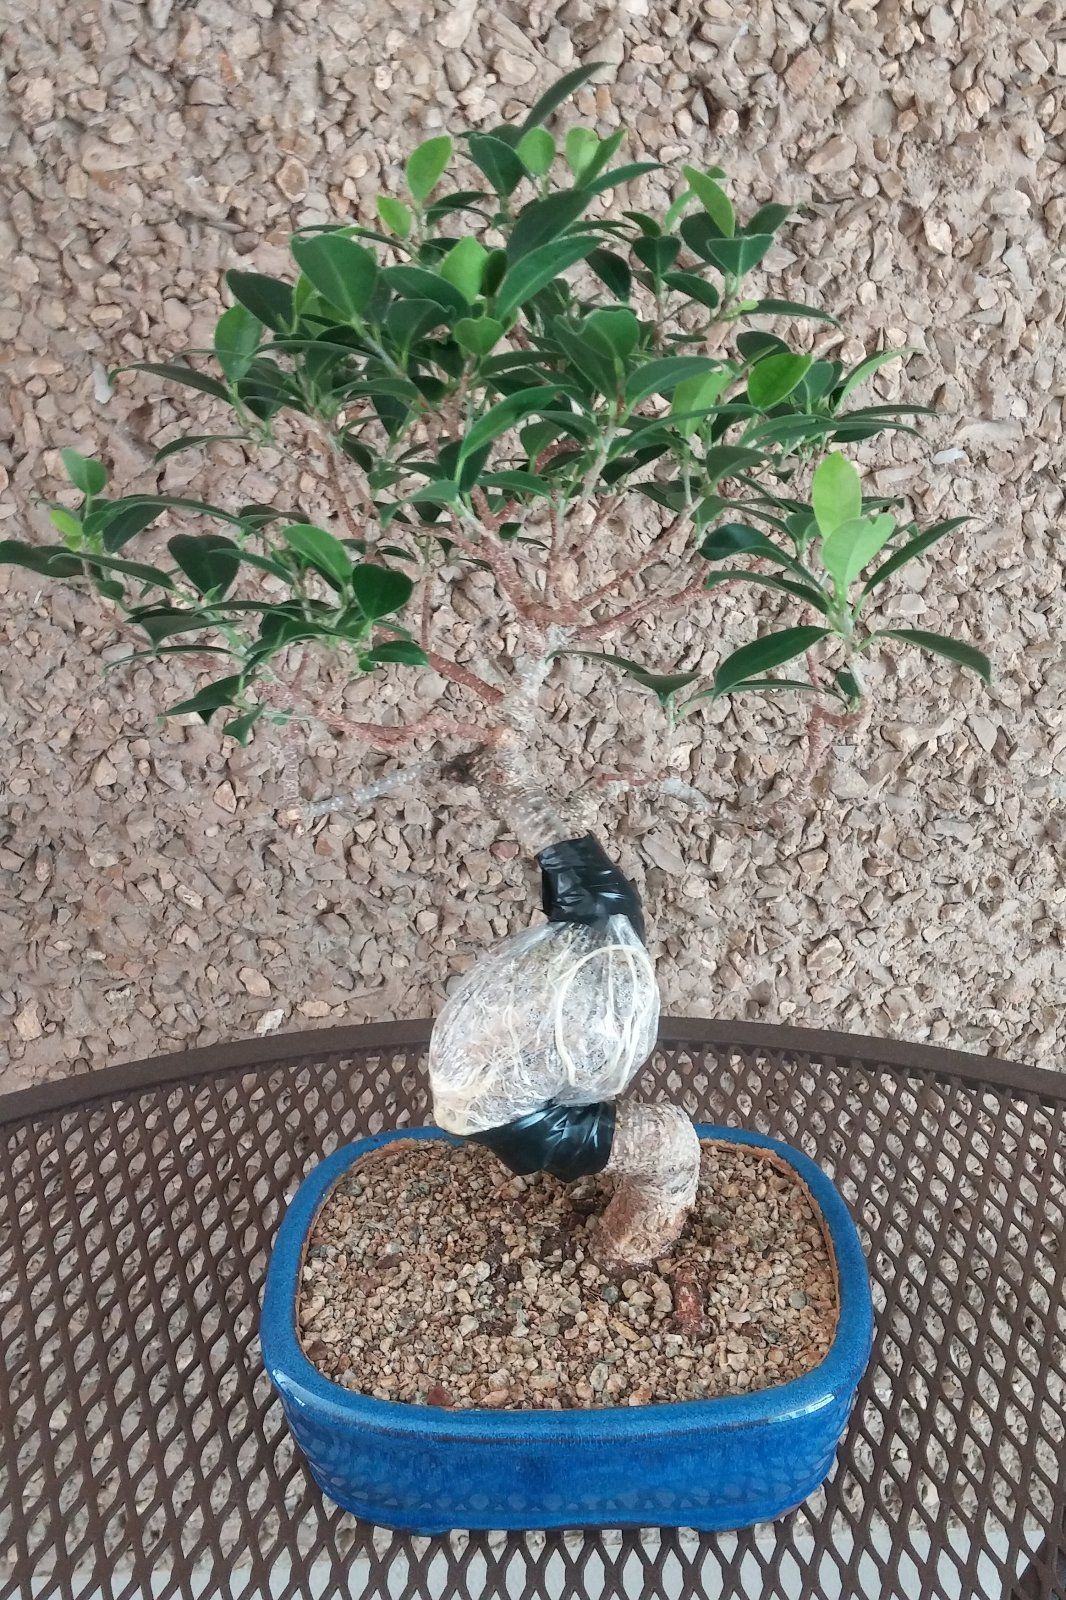
You should go fairly deep, past all the green and then some. I had the same thing happen from fear of going too deep. But going 1/8" or so past the cambium to the actual wood hasnt failed me yet.Air layer update: it's been about two months since I started the air layer, but I was seeing no roots. The foliage has been going strong though, especially the past month.
So I decided to open it up and take a look. There was lots of healing going on under there, the whole wound seemed like callus. It was all still pretty soft and pale, I went at it with my knife and it all peeled of fairly easily. Then I went back a second time with the knife and cut and scraped away more tissue. I'm hoping I went deep enough this time.
The lower trunk will throw new buds as long as the tree was healthy when you started the layer. I'd make sure there's a plethora of roots before removing. I have my 3rd ficus airlayer of the year in progress right now and I'm not worried at all about how long it'll take.There are now three roots visible at the bottom of the bag. I'm wondering if I should do the chop soon of wait for more roots to be visible.
Once I do the chop I'm hoping to get new budding on the old base, so worry about waiting too long. But, also don't want to risk the top by chopping too early.
.jpg")
.jpg")
.jpg")
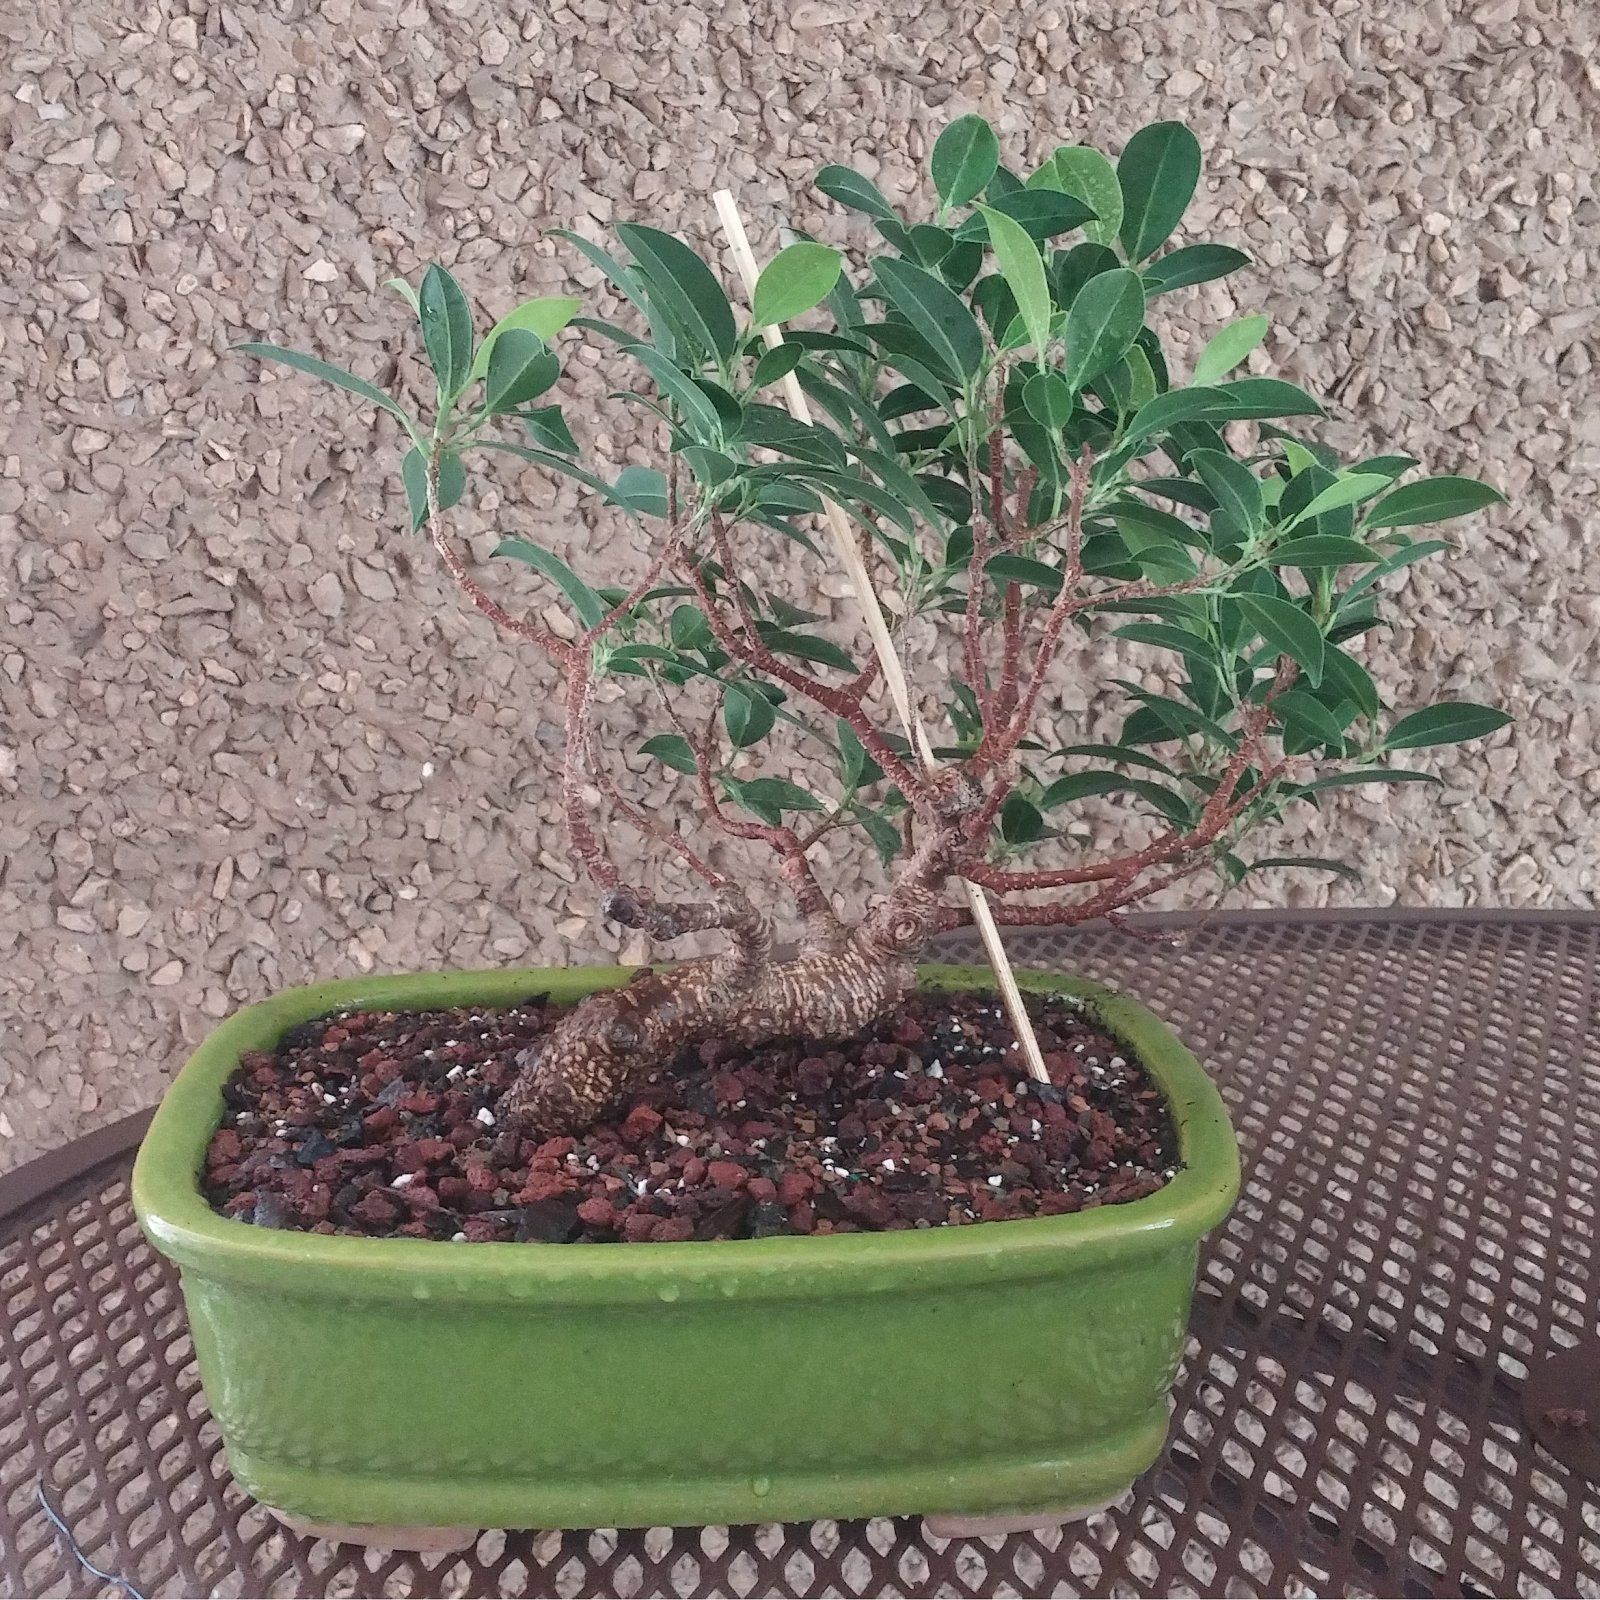
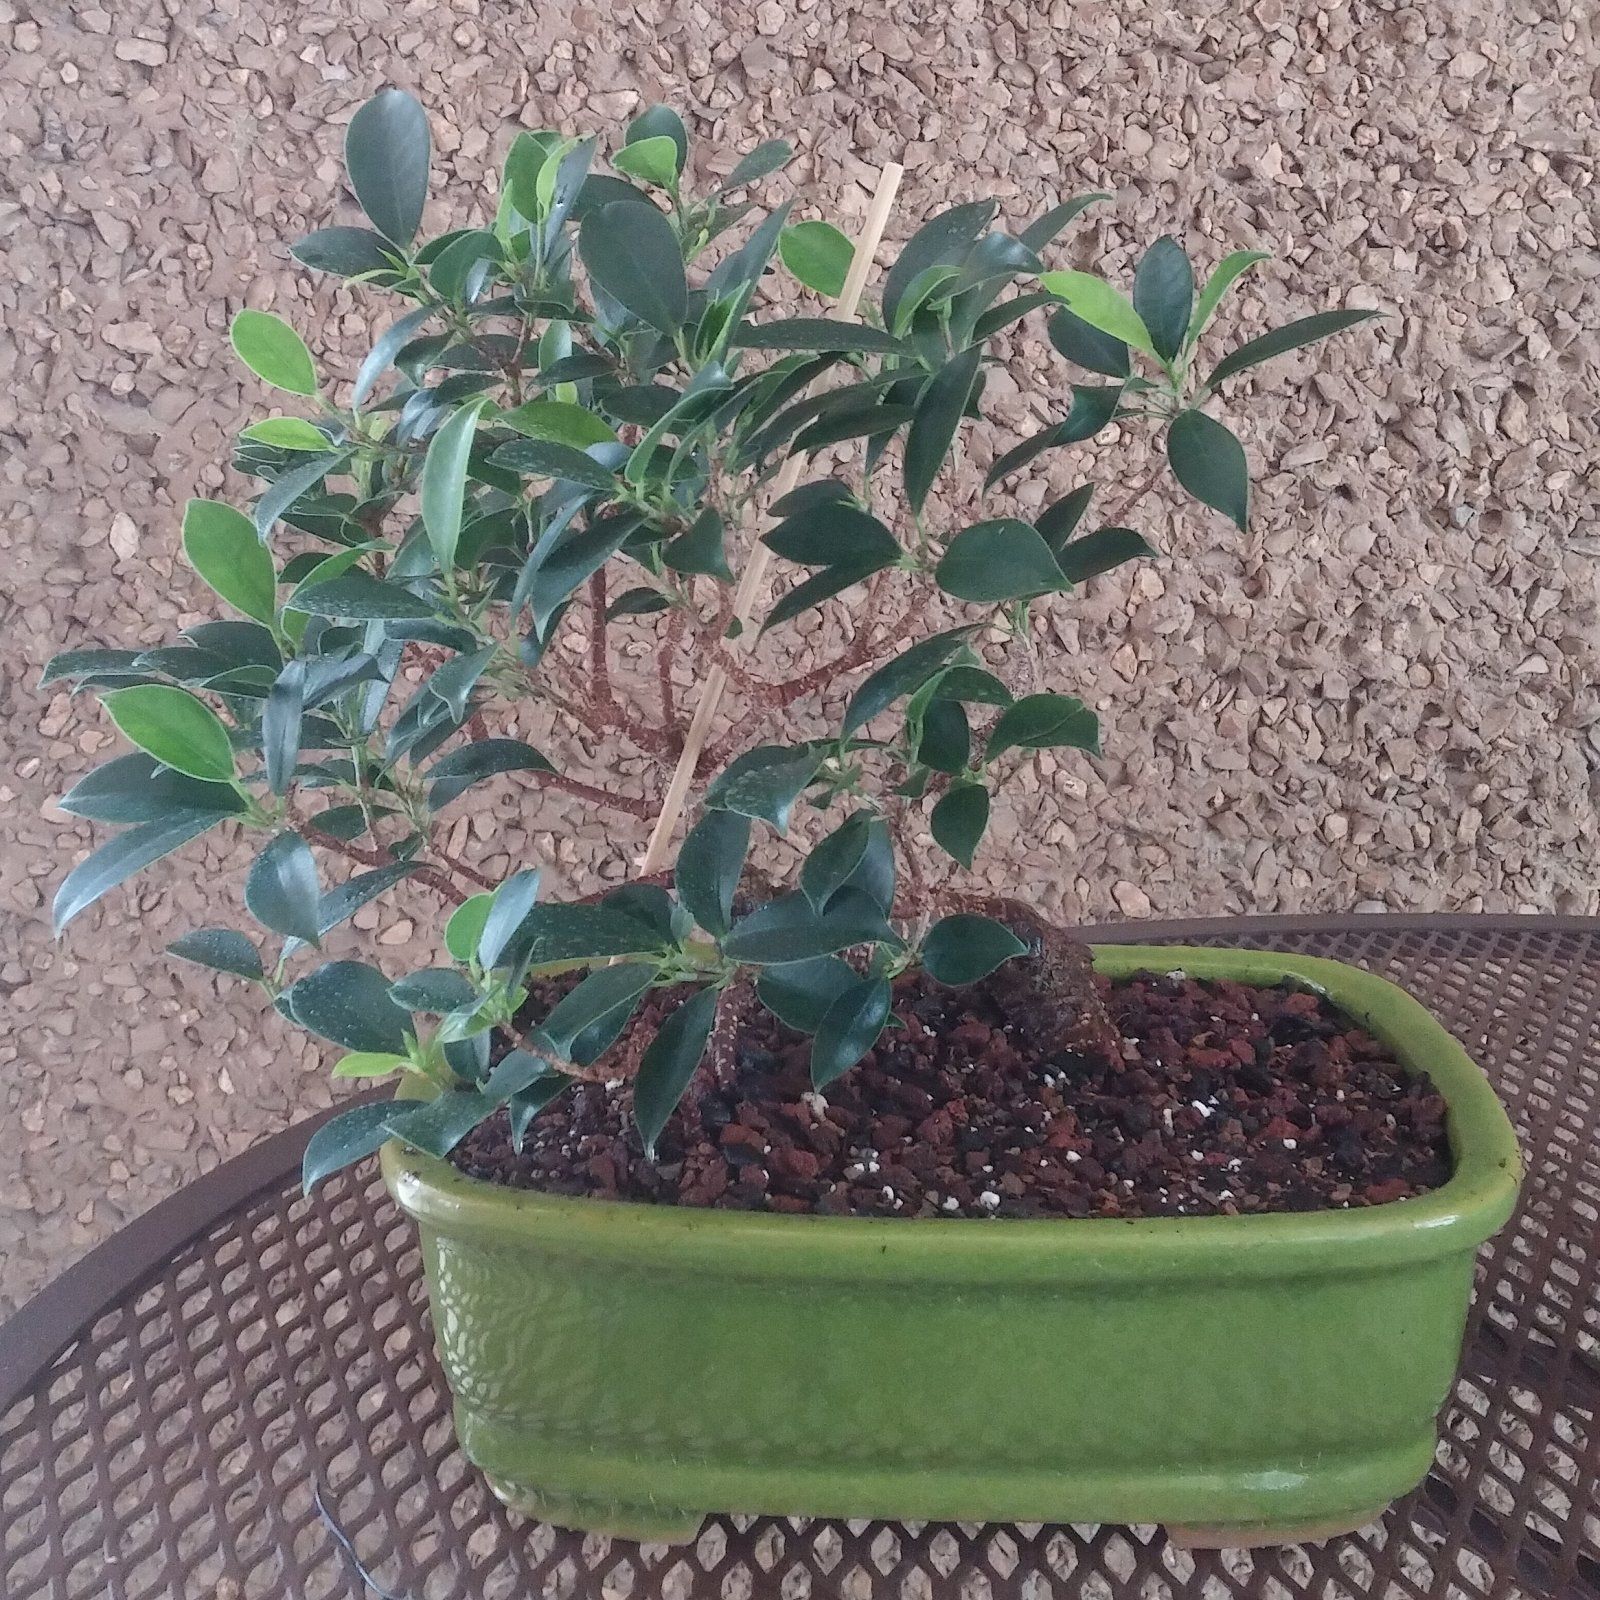
Ok, I let it go a little more than a week since I first started seeing roots and they really took off. Roots were starting to find their way out of the bottom of the plastic bag. So, I did the chop this morning. Attached you'll see some photos take during the process. I decided to try to tease the roots apart some so I could get them started in a bit of a basic radial arrangement. Not shown, I screwed a small base plate to the bottom to force the roots outward rather than down.
I'm planning to let it go in its new potting for about a year before repotting to better arrange the roots and to get the trunk position a little more refined. However, I'm really pretty happy with this preliminary placement, though of course would love hearing your thoughts.
One of the lower limbs really doesn't work with this new orientation, but rather than trimming it off now I decided to submerge it in the soil a bit and see if I can get roots there too. If so, I'll chop it off as a new plant when the time comes to deal with the rest of the tree.

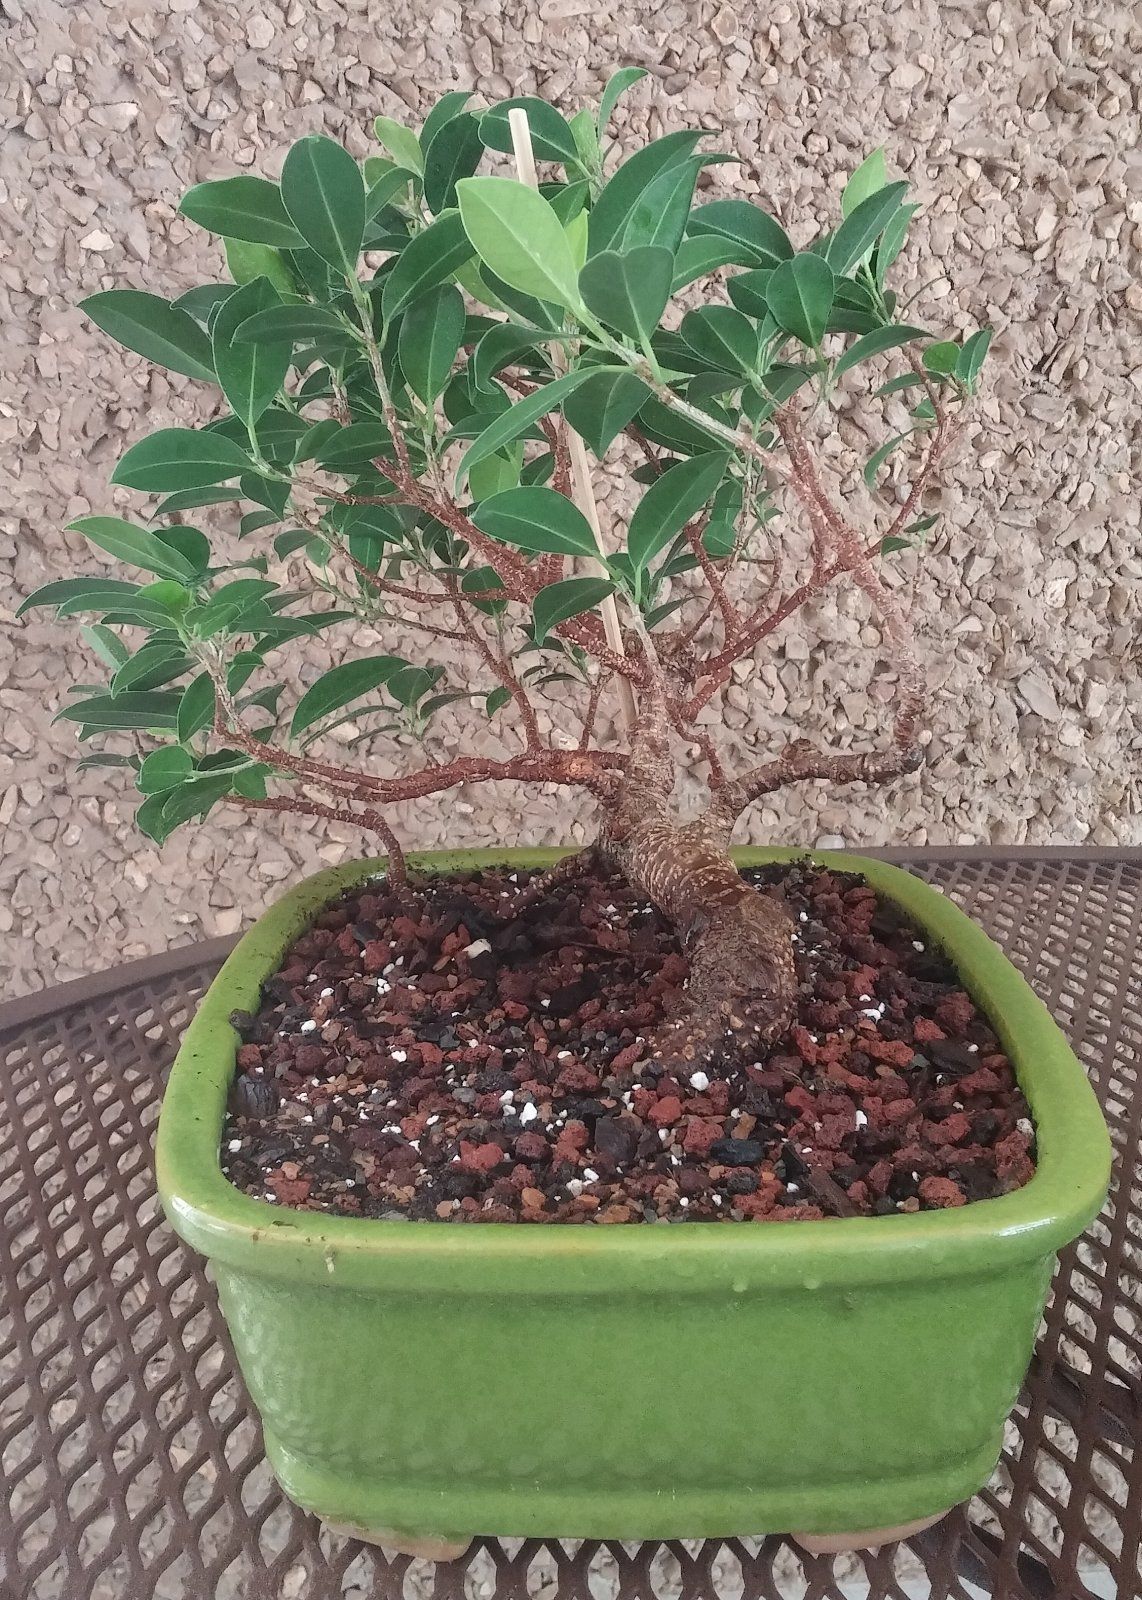
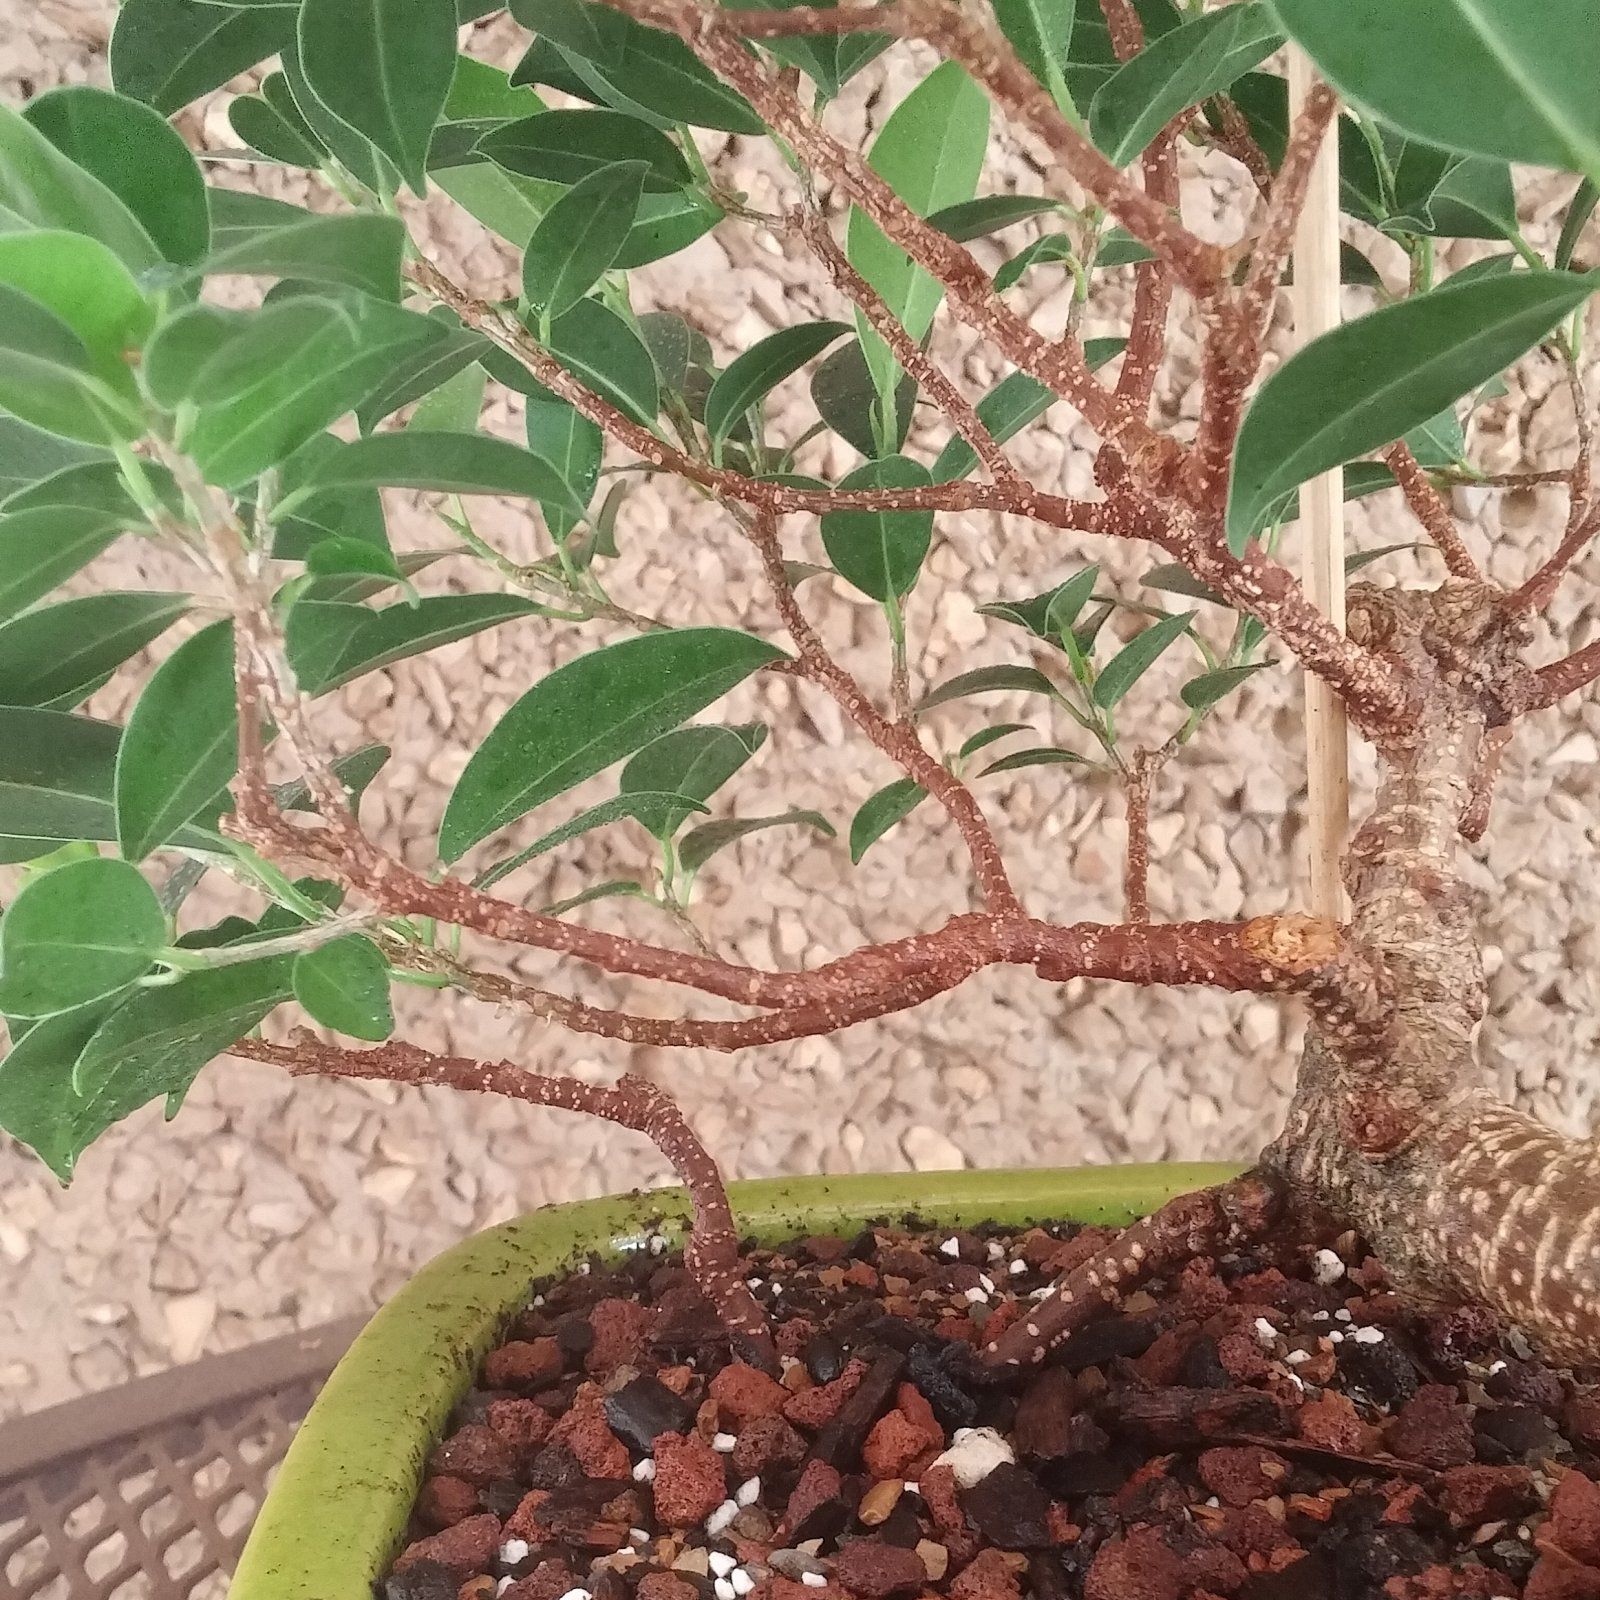
Should I leave the cut where it is, or cut some more to change the angle?
In addition to the new orientation with the top, I'm left with this base. I'm planning to recess the bare wood some then put cut paste on it. However, I'm wondering if others with more experience with chops might give me advice. Should I leave the cut where it is, or cut some more to change the angle?
View attachment 112992 View attachment 112993 View attachment 112994
Awe man, that looks good!Did the same thing. This is how the base turned our for me.