Dorian Fourie
Chumono
Hi All
This Saturday I have been requested to do a demo at my club and I decided to show everyone the benefit of adding rocks into your bonsai to assist in improving the overall look and the best rocks to use for ROR.
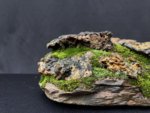
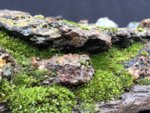
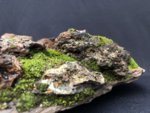
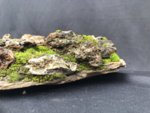
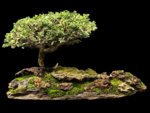
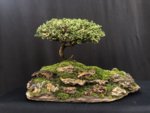
I am also going to be showing them the rock slab that I made for my Serissa Bonsai and I will finish it off with planting the tree and adding in the final rocks, moss etc.
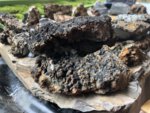
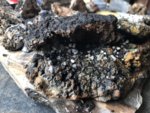
I went and found myself a nice piece of slate rock and I tried to match it as closely to the colour I was looking for to match the rocks I was using. I spent a few days cutting pieces of rock with my angle grinder and over the last weekend, I started to put the puzzle together of trying to get it to look the most natural way possible.
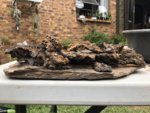
I tried to make some overhangs and areas that I can fill up with moss and hoping that it will look natural in the end. Once I had cut all the pieces and positioned them into the general area, I marked each one and put them carefully together. I was planning to use window pane putty to keep them in place on the slab but was advised that it is filled with turpentine and would never dry in time. A mate of mine gave me some epoxy that he had found out about and said that it is the best for gluing items together and guaranteed not to come loose.
I set to work getting the rocks glued onto the slab. The epoxy glue comes in 2 containers that need to be mixed and once put into place, we tied it down with some wire to hold it until the glue set.


From then it was like building a puzzle and getting the numbers back into position. Some changes were made and eventually half of the slab was glued and held in place. I left it overnight to ensure that the epoxy would dry completely before I would finish off the rest of the slab around the back area. When I looked at it the next morning, one of the pieces just didn't look right so I decided to remove it and re-glue it into a new position. The glue had set so hard that I actually removed a thin layer of the slab whilst taking it off.
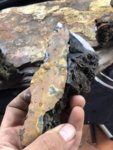
I mixed some more glue up, replaced the rock into a better position and got working on the back of the slab. Once all the rocks were glued and I was happy that the glue had set sufficiently, it was time to move onto the next step.
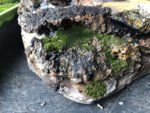
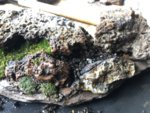
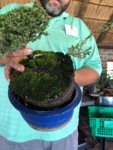
One of my friends has the most amazing spot where moss grows in abundance and I go moss collecting whenever I need too. I got more then enough for this project and some.
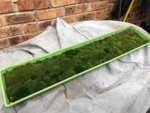
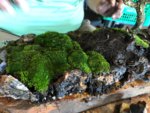
Now to get stuck in and get the moss into the slab.
This Saturday I have been requested to do a demo at my club and I decided to show everyone the benefit of adding rocks into your bonsai to assist in improving the overall look and the best rocks to use for ROR.
I am also going to be showing them the rock slab that I made for my Serissa Bonsai and I will finish it off with planting the tree and adding in the final rocks, moss etc.
I went and found myself a nice piece of slate rock and I tried to match it as closely to the colour I was looking for to match the rocks I was using. I spent a few days cutting pieces of rock with my angle grinder and over the last weekend, I started to put the puzzle together of trying to get it to look the most natural way possible.

I tried to make some overhangs and areas that I can fill up with moss and hoping that it will look natural in the end. Once I had cut all the pieces and positioned them into the general area, I marked each one and put them carefully together. I was planning to use window pane putty to keep them in place on the slab but was advised that it is filled with turpentine and would never dry in time. A mate of mine gave me some epoxy that he had found out about and said that it is the best for gluing items together and guaranteed not to come loose.
I set to work getting the rocks glued onto the slab. The epoxy glue comes in 2 containers that need to be mixed and once put into place, we tied it down with some wire to hold it until the glue set.


From then it was like building a puzzle and getting the numbers back into position. Some changes were made and eventually half of the slab was glued and held in place. I left it overnight to ensure that the epoxy would dry completely before I would finish off the rest of the slab around the back area. When I looked at it the next morning, one of the pieces just didn't look right so I decided to remove it and re-glue it into a new position. The glue had set so hard that I actually removed a thin layer of the slab whilst taking it off.

I mixed some more glue up, replaced the rock into a better position and got working on the back of the slab. Once all the rocks were glued and I was happy that the glue had set sufficiently, it was time to move onto the next step.
One of my friends has the most amazing spot where moss grows in abundance and I go moss collecting whenever I need too. I got more then enough for this project and some.

Now to get stuck in and get the moss into the slab.

