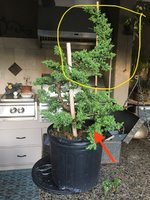
@Tieball is absolutely correct and where I was going when I suggested more photo angles.
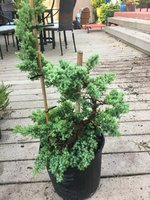
I would grow the tree, like you’re thinking, to thicken it up, create stronger branches, and then I would likely chop much lower
Exactly, keep the plant as you see it now, but begin developing the lower part
next year rather the year after you repot it.
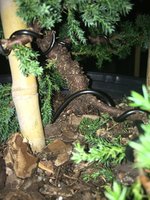
It would be good to leave it alone now, and let it get as much growth as possible, pot it up in a grow box, Anderson flat
or pond basket next late March in your area just before it needs watering.
Keeping as much foliage as possible prior to potting up will help it recover from its first potting up to bonsai soil
or at any other time in its future. Resist pinching off or removing any growth tips as this is where the most energy comes from.
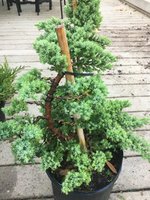
So it's not going to look like a bonsai for 3 years minimum, then you're going to repot it again, getting more nursery soil
out of the crown, not all in one potting.
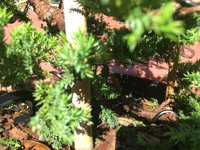
Unfortunately, we can't pick a front to work with yet at this point. You may, but without having it in hand or work done on nebari yet
finding a front can be elusive, even with bonsai material.
Once grown out, and you're satisfied with the girth (procumbens typically remain slender once potted up, or more often than not
even in the ground) I would remove higher than what Tieball recommended just in case it worked for a jin feature
but if not, agreed the lower portion is where the bonsai will be.
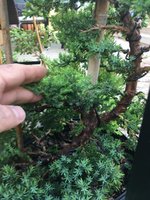
One thing to keep in mind, if a lower branch to be, is thinner than a branch above, you'll need to let
the lower one run, and keep the growth in check on the higher thicker one while it's growing out.
Love your hometown man! We vacation in Navarre Bc and have been out to Ft Pickens there in Pensacola

Hwy 399 between Navarre and Pensacola is my favourite drive when it isn't closed due to hurricane damage