Prunus mume progress thread

Messages
464
Reaction score
560
Location
Staten Isand NY
USDA Zone
7b
Flower buds (1,3) form on either side of the vegetative bud (2) in the fall. I don’t think those embryonic leaves indicate flower buds.
View attachment 385804
Thank you for the response I was hoping they were but after seeing your detailed picture it sure seems doubtful. Well maybe next year as the tree is still young and from what I was told from the seller it was air layered. So I don’t have to wait a life time for flowers.
Michael
 

Brian Van Fleet

Pretty Fly for a Bonsai Guy
Messages
13,996
Reaction score
46,166
Location
B’ham, AL
USDA Zone
8A
The way you can tell if your Ume is producing flower buds is easy: if the leaf is smooth and curls up like a taco shell in late summer, it has flower buds at its base. If the leaf is rough and stays flat, no flower bud.
 
Messages
464
Reaction score
560
Location
Staten Isand NY
USDA Zone
7b
The way you can tell if your Ume is producing flower buds is easy: if the leaf is smooth and curls up like a taco shell in late summer, it has flower buds at its base. If the leaf is rough and stays flat, no flower bud.
Hey Brian

I took some pictures this morning to share with others what these little leaf buds look like at the start. I will say not every leaf has the same as there are only 8 or 9 of these buds. The rest just have leafs with no buds at all. Well maybe next year I will have better luck.
Thanks again
Michael
FB71FC68-8A24-4C39-8444-9EE98D9E7DBB.png88E3CDB7-976D-462B-B1B9-3320E45C0AA4.png4AA3A017-3DAB-468B-8D71-03B110709773.pngD2B2FCC2-ABEA-40F4-A63A-7E8F8B500A7F.png
 
Messages
464
Reaction score
560
Location
Staten Isand NY
USDA Zone
7b
Took some close ups this morning for future reference. It appears that a lot of the larger leaves are starting to look curled up but I am doubtful she will produce flowers. Again I am only posting these pictures to compare to next years (end of July) leaf production.
I didn’t realize how much joy this hobby would provided. It’s like it completely relaxes me 😀

michael
2F3F627E-4AB8-4830-9602-3C6AC9087E77.jpegE457A102-B05D-4E3A-BE88-9F9BAF6409B1.jpeg7CE3E449-477E-4128-9970-5B01B15EC6C3.jpeg3CDE822F-F33C-489C-95ED-62BC86BF3508.jpeg5C133057-0360-4883-9DDD-31E0BB5BBCA8.jpegCB95740A-D6AA-4431-83A9-A2EB16136B96.jpeg3E66A058-AFF8-4E05-87B2-941C64E086C3.jpegE09CF322-E044-4E30-945E-E4B86ED1AE00.jpeg17BA5E6E-0851-4346-8853-16E71696360F.jpeg57FBE18C-2238-4255-AA12-3BAB8192F3E0.jpeg
 
Messages
464
Reaction score
560
Location
Staten Isand NY
USDA Zone
7b
Well it’s been 6 months and I felt it was time to remove all the wire, tape and raffia to see how the tree healed from all the abuse I put her through. Below are several pictures of the out come.
These are the lessons learned
1) the bark underneath the raffia and tape were extremely moist and paper thin but healthy.
2) the bottom of the tree were I removed roots and peeled back the bark to remove deeper roots were sealed with cut past and to my surprise we’re completely healed with no visible signs of cuts. It was like the back grew perfectly of all the cutting I did. So what I learned was seeking with cut past and wrapping it with raffia and black tap worked perfectly.
3) the areas were I split the trunk even though it was wrapped and taped still showed signs of the scars. What I should have done but didn’t was put cut paste over the splitting. As it would have looked I think like the below were I did place it. I also noticed that a tiny shot grew right through the tape and will see how it progresses.

Hope this helps others

what I decided to do was place cut paste over the vertical splitting to see if the tree heals. I also put in place wire to pull the tree downwards for more movement until next season.
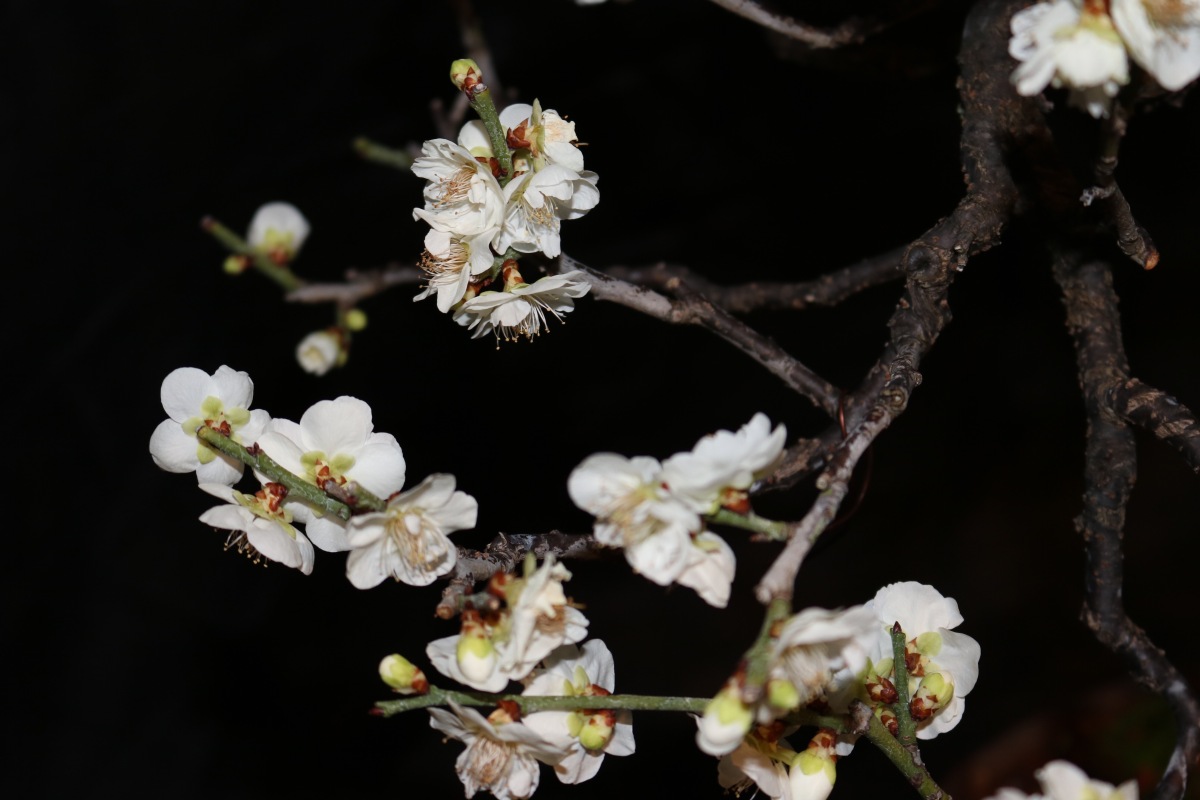
Below are pictures of the lessons learned.
Michael


6761B12E-2CED-4683-938B-AF7FEFCA8BD5.jpegF9B5F00A-F3C6-49B9-8F36-E2387AE16686.jpeg2A67ED25-B6B8-4F0D-9A21-A7F591EDA6F5.jpegE954DDDA-3181-40A7-8255-9315113A43DB.jpeg54B7BFA9-82FD-4316-9DF3-4C9CCCFB7865.jpeg89888B2F-A5DF-4EFE-8698-B8366405800F.jpeg5F0AFF8A-B3C0-4C5E-8090-918C0BCADA07.jpeg46F73FEA-F33B-4D86-BD42-9B63B4019AC6.jpeg5B948672-CFFD-4FCE-A721-0273693A95CB.jpeg51AE7706-A6D9-452C-B2B2-33B83D6EBB6E.jpeg
 
Messages
464
Reaction score
560
Location
Staten Isand NY
USDA Zone
7b
Quick question to all. Seeing the leaves on my tree are looking crappie as the tree goes dormant do I clip the leaves off to promote better bud development. Or do I just let them fall off normally?
Michael
33E98DB5-3C89-4A4A-9D32-7CA22FCC7E14.jpeg2D0E1289-FA07-4C64-BCA4-A749AD8DDFFF.jpeg1CAAAC58-927D-4D32-A67E-ED872719524B.jpeg24820F91-CA54-4918-AC5F-3967DC9E2CB8.jpeg
 

Pitoon

Imperial Masterpiece
Messages
5,054
Reaction score
11,467
Location
Southern Maryland
USDA Zone
7b
Let them fall off naturally.

They may look 'tired', but they are still doing their job....photosynthesis.
 
Messages
464
Reaction score
560
Location
Staten Isand NY
USDA Zone
7b
Let them fall off naturally.

They may look 'tired', but they are still doing their job....photosynthesis.
Thank you. I like the way you put it. They look tired. They sure do and the reason I asked is because I have seen a few pictures on line from different sources and it appeared that the leaves where cut and I wasn’t sure if I should do the same. Thanks again for the advice as I think this winter is going to be super cold.
michael
 
Messages
464
Reaction score
560
Location
Staten Isand NY
USDA Zone
7b
Well she’s all wrapped up for the fast approaching winter season. I re-wired and took 4 cuttings and placed them in the fridge and will pull them out in March. Let’s see how it goes as this is my first attempt at cuttings.
MichaelE26D095E-A53C-4347-9402-A88A05A7B42D.jpeg5151ABB2-4296-4D9F-AD96-2B61A9DBA931.jpegC471FA61-9776-49DB-98D1-585EDCAB7E08.jpeg9B366EF1-01BD-4C9B-BEE4-6A28D3BFF601.jpeg
 

leatherback

The Treedeemer
Messages
14,045
Reaction score
27,350
Location
Northern Germany
USDA Zone
7
Happy to see this develop and stay healthy.

I think one lesson you did not learn was to not split the trunk. There really is no need. If you wrap the trunk as you did, you should have been able to bend without trouble. That would have left you without scar. The scar will remain with you. Wiring green branches is a lot easier though.

This tree will have lots of flowers, from what I can tell. Great!
 
Messages
464
Reaction score
560
Location
Staten Isand NY
USDA Zone
7b
Checked on the four cuttings this morning to see if they were still alive and see if they needed a little water.
When I check the zip lock bag the soil/crushed akadama was still very wet and the cuttings looked green as the day I cut them. The only exception was the cut area seemed to be darker is this good or bad ?

michael 7306817B-CE92-491A-90AB-112094780F65.jpeg58532BAD-B4E8-4AA6-AE27-87BEF73022CC.jpeg
 

River's Edge

Masterpiece
Messages
4,750
Reaction score
12,764
Location
Vancouver Island, British Columbia
USDA Zone
8b
The discolouration is normal, what you are looking for though is callusing! The area that is dark now will look bumpy and swollen when it calluses. The soonest I would expect this is after one month of cold storage. Some cuttings will take longer to callus and some will fail to callus. Best of luck with these four.
 
Messages
464
Reaction score
560
Location
Staten Isand NY
USDA Zone
7b
The discolouration is normal, what you are looking for though is callusing! The area that is dark now will look bumpy and swollen when it calluses. The soonest I would expect this is after one month of cold storage. Some cuttings will take longer to callus and some will fail to callus. Best of luck with these four.
I will check again in January thanks
 

River's Edge

Masterpiece
Messages
4,750
Reaction score
12,764
Location
Vancouver Island, British Columbia
USDA Zone
8b
I will check again in January thanks
If you cut any further scions for propagation, I would suggest sealing the top cut and applying rooting hormone to the bottom cut at the time of preparing the scion.
Some varieties require more care for better results than others. From the pictures on the thread it is not possible to see if theses steps were taken the first time,
The sealing prevents desiccation and helps to avoid fungal infection and or excessive die back on the top of the cutting. The rooting hormone often creates a stronger rooting response.
When you plant the cuttings, put them down in the soil mix fairly deep 2-3 inches. This makes a difference in keeping the bottom end moist and conditions stable for rooting. If you can provide a bottom heat mat that is beneficial but not required. Just a few suggestions for improved results.
best of luck
 
Top Bottom