lieuz
Chumono
New Kintsugi Equipment - Charcoal and Burnishing Tool
I've recently come across three new pieces of equipment to add to my arsenal of tools for kintsugi. To start, the charcoal I'm currently using is binchotan, which is, for the most part, sufficient. However, just like how we have various grits for sandpaper, various types of charcoal have various grits as well. Binchotan is VERY hard and would probably be considered the lowest grade grit, which is great to sand off preliminary areas. However, binchotan is not great for refinement or polishing surfaces. It will scratch the repaired areas too hard, which can cause unnecessary damage, setting back the project. These were pretty hard to source because not all places were carrying the same types of charcoal and calling them differently. Cost was also very important; sourcing these pieces of coal was extremely expensive, mainly the shipping costs would sometimes be 5 to 6 times the amount of the actual piece of charcoal. I ultimately sourced my new charcoal from France, which definitely helped with shipping costs.Here are the details of the two types of charcoal I recently acquired.
Suruga-Zumi (駿河炭)
- This is charcoal made from tung wood. Suruga zumi is considered a very fine yet durable charcoal and is best used to polish the middle or top layer of urushi. The physiology of the tree also plays a role in why this is optimal. The vessels on the end grain are thick, making it easy to polish and grind (it has good abrasive power). The wood, which is quite narrow, is very densely packed with the annual growth rings; yet, it is evenly spaced, making it optimal when used to polish. I would use this to polish the very last layer before I would gild with gold powder.
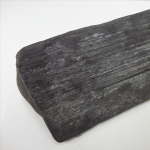
Hoh-Zumi (朴炭極)
- This is charcoal made from magnolia wood. Hoh zumi is considered a fairly dense yet much coarser than suruga zumi. This coarseness is why it is very durable that is best used to sand down your preliminary steps, like sabi urushi, which is the filler material, once the piece is reassembled with mugi urushi. It is also very suitable to sculpt when trying to recreate missing pieces.
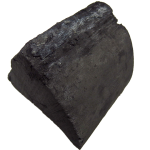
These two newly acquired pieces have been so beneficial to my refinement process. They really do gently sand yet does not scratch any other surface.
The way to use the charcoal is to cut these pieces so that the pieces are oriented so that the grain of the wood (end of the wood) is exposed. That part does the work in polishing or sanding.
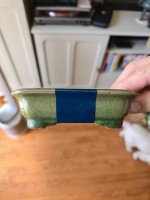
Here is a diagram of how I would cut my pieces.

It definitely is a lot of work, but you have to, so that you may save as much of the charcoal is you can, which is a pretty big downside to using this resource. Also, I would use a very fine saw to cut these pieces.
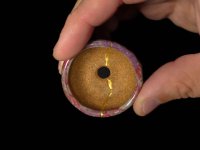
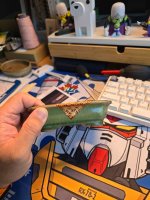
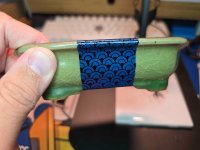
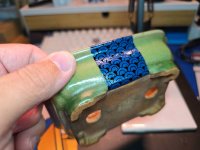
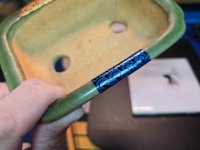
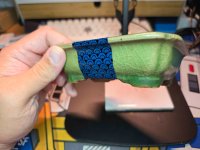
Here are the results:
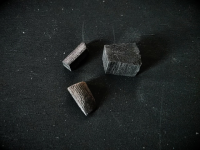
Note the very fine grain that is densely packed and evenly spaced apart.
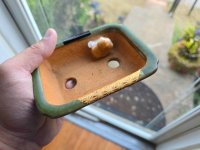
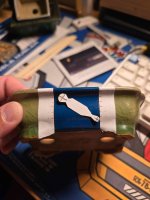
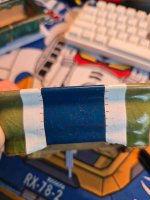
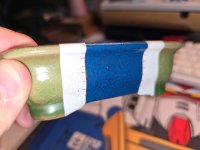
Lastly, I USED to have a tool where I took a tooth of my puppy for when he lost his puppy teeth, we picked them up for keepsakes, and attached it to a stick so I could burnish my finished pieces. I had to get approval from my wife allowed me to take and use as a burnishing tool as he did not drop very many of his puppy teeth that we could find. I somehow lost it. So I can't ask for another, hence why I had to buy the authentic tool called the "tai-ki-bo" (鯛牙棒) which is the tooth of a snapper or sea bream. This tool is actually quite useful due to its shape. I can get into very od shaped areas to burnish.
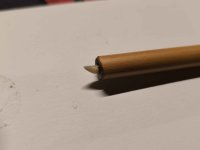
Here is my old tool.
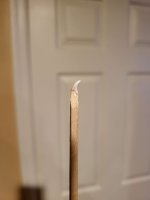
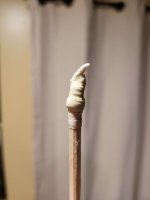
Just wanted to share because I was quite excited to get some authentic stuff to apply to my projects. They've been amazing additions so far.

